 When you click on links to various merchants on this site and make a purchase, this can result in this site earning a commission. Affiliate programs and affiliations include, but are not limited to, the eBay Partner Network. When you click on links to various merchants on this site and make a purchase, this can result in this site earning a commission. Affiliate programs and affiliations include, but are not limited to, the eBay Partner Network.
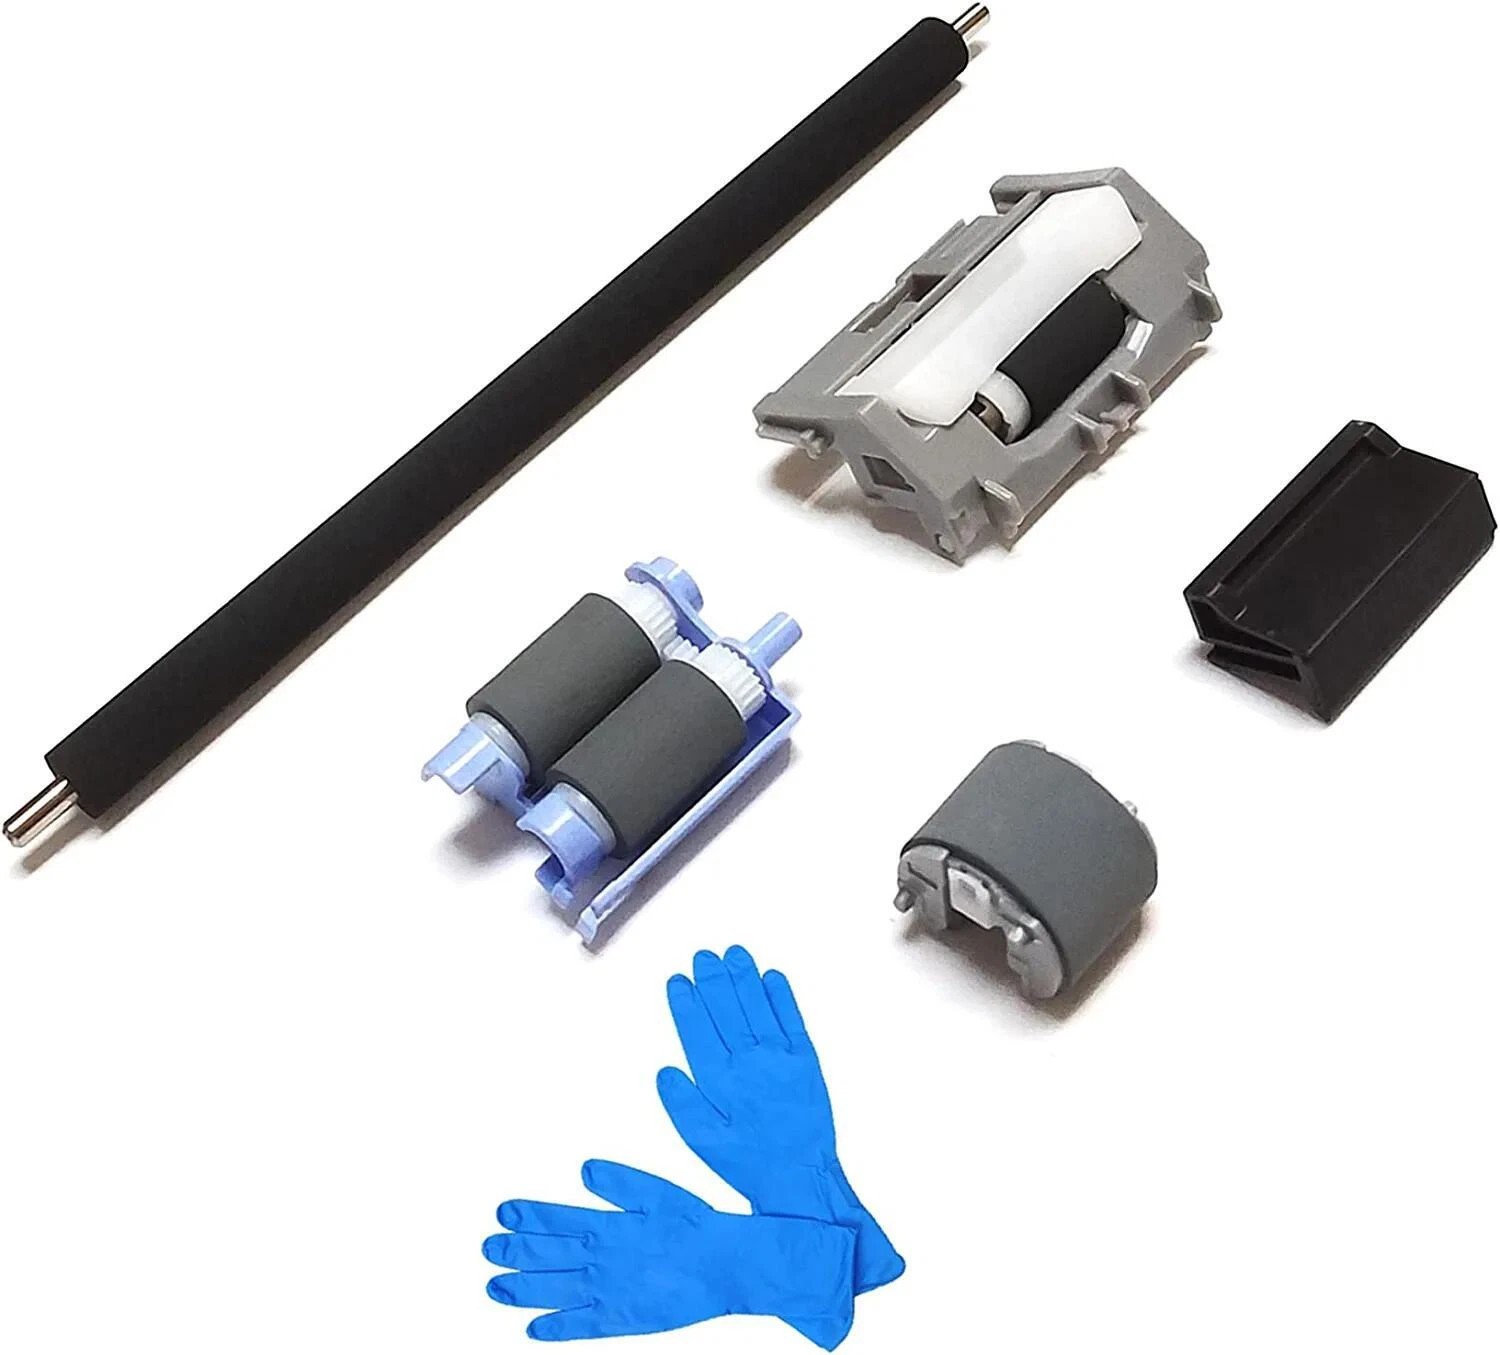
Product Description For HP Laserjet Pro M402 M403 M426 M427 Printer Parts M402-RK Maintenance Roller Kit About this item - Maintenance Roller Kit
- Compatibility: M402-RK Maintenance Roller Kit Compatible with HP Laser Printer M402 / M403 / M426 / M427
- Easy Installation: User-replaceable, making maintenance simple and convenient.
- Superior Performance and Reliability: Precision engineering ensures smooth, consistent paper handling, minimizing jams and misfeeds for uninterrupted productivity.
- Maintenance roller kit includes: 1 x RM1-4023 Transfer Roller, 1 x RL2-0657 Tray 1 Separation Pad, 1 x RL2-0656 Tray 1 Pickup Roller,, 1 x RM2-5397 Tray 2 Pickup Roller, 1 x RM2-5452 Tray 2 Separation Roller, Gloves
- Press the door-release button, and then open the toner-cartridge door.
- Release two tabs between the roller collar and roller, and then rotate the top of the roller out and away from the printer.
- Remove the roller.
- The M427/M426 printer is shown in this procedure. However. the instructions are valid for the M403/M402 printers. Position the replacement pickup roller with the pins in the provided slots on the holder, and then rotate the top of the roller up and toward the printer.
- Continue to rotate the top of the roller toward the printer (callout 1), until two tabs (callout 2) snap into place.
- Close the toner-cartridge door.
- Pull the tray straight out of the printer to remove it.
- Remove the pickup roller assembly (Tray 2)
- Place the printer bottom-side face forward
- Release one tab (callout 1), and then slide the roller holder toward the left side of the printer to release it.
- Remove the roller holder.
- Position the roller holder assembly in the printer as shown, and then slide it toward the right side of the printer.
- Make sure that the tab snaps into place.
- Carefully rotate the printer forward.
- Continue rotate the printer forward until it rests in the operational position.
- Install the Jul 1, 2024 at 22:05:03 PDT, seller added the following information:On May 29, 2025 at 07:14:21 PDT, seller added the following information:

|
|