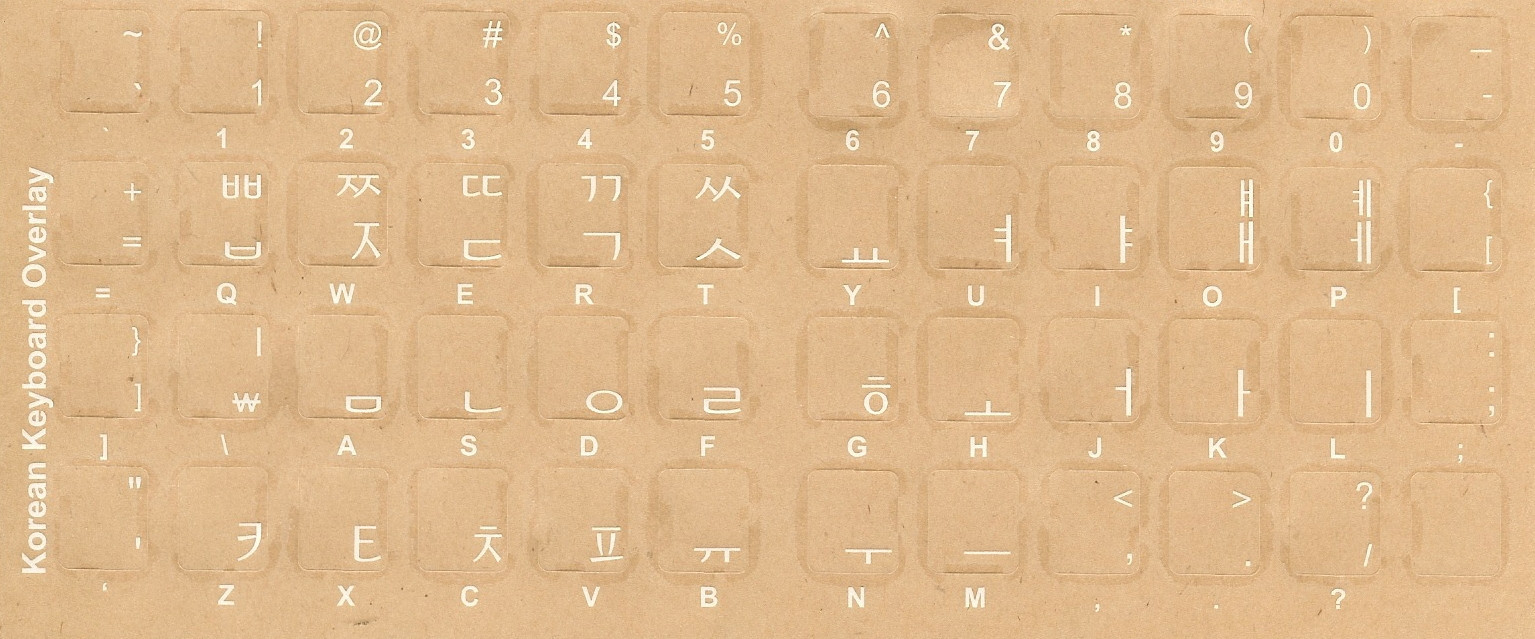
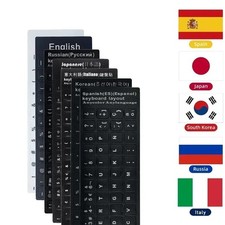
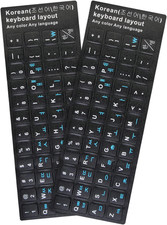
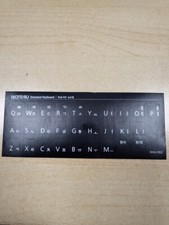
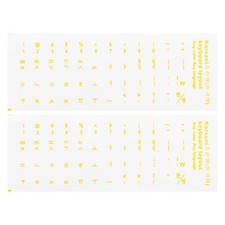
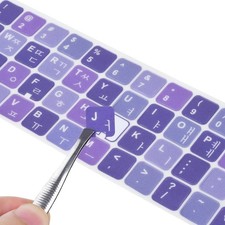
Korean Keyboard Stickers
High quality transparent reverse print keyboard stickers with White LettersLanguage Keyboard Stickers Features:
·Durablestickers. Stickers are manufactured ofdurable Lexan®. They won't tear, crack, discolor, or slip off even after yearsof use.
·QualityPrinting. The printing is on the underside ofthe sticker so the INK NEVER WEARS OFF OR SCRATCHES OFF.
·Easyto Apply. The stickers are EASY TO APPLY. Thestickers are printed in the same sequence that they appear on the keyboardregardless of the keyboard's original language. If necessary, stickers can becut with scissors for special installations.
·QualityAdhesive. The Sticker adhesive firmlyattaches the sticker in place without damaging the keyboard key or the originalkey legend. The adhesive will not ooze, harden or wear out.
·Removable. If desired,Stickers may be removed without causing damage to the original key or thelegend on the key.
·AccurateDie-Cutting. Stickers are printed with roundedcorners so they cover the keytop and will not pop off in use.
·CompleteAlphanumeric Set. The sticker sets include stickersto cover all of the alphanumeric keys on the keyboard. The sets do not includethe function keys, the control keys, or the numeric keypad.
·BilingualKeyboard. The clear stickers do not interferewith the original characters printed on the key.
·Durableand Flexible. Stickers are flexible enough toallow you to feel the touch-typing bumps on the F and J keys.
Instructions for installing Keyboard Stickers
Keyboard stickers are designed to rugged and durable, but the installation tips on this page can make the installation easier and assure you of many years of trouble free service from your overlays.
You can use tweezers or a knife blade to simply place the overlays on the key, but you must make sure that the overlay is straight when you place it. The adhesive is designed to bond tightly when pressed on the key. If you have to remove the overlay to reposition it, the adhesive bond will not be as strong.
The simple steps below can make placing the overlays easier and more accurate.
Before you begin installing your keyboard stickers, you should collect the items you will need to complete the installation:
- The overlays
- A small bowl or bottle cap with a little water
- Dish washing detergent (or similar liquid soap)
- A paper towel (or cotton balls)
- One or more Q-Tips (or cotton balls)
- Tweezers or a knife blade is recommended
Step 1
Turn off your computer. It is not necessary to disconnect the keyboard from the computer, but youshould have the computer turned off.
Mix a drop of dish washing detergent in the bowl of water. Dip the Q-Tip in the water to moisten it.
Step 2
Place the Q-Tip on the paper towel to remove the excess moisture.
Step 3
Wet the computer key for the overlay. Make sure that you do NOT place too much water or moisture on the key. You do not want the water to run down the sides of the computer key.
CAUTION: Do not apply too much moisture to the key. Apply only enough to make the key top moist. Ifyou apply too much moisture, it may drip down the side of the key and damage the key switch.
Step 4
Use a knife blade or tweezers to lift the overlay from the sheet. Place it over the key making sure that it is the correct key for that overlay. When you have it in place, press the overlay onto the key.
Because the key is moist, the overlay will not immediately stick to the key allowing you to slide the overlay slightly on the key for perfect alignment.
Step 5
When you have the overlay in the correct position, take the paper towel and press it firmly on the overlay. This step forces any excess moisture out from under the overlay. When the overlay is firmly in place, burnish it down with your finger, the dry end of a Q-Tip, or your fingernail. Press firmly enough to ensure a good bond, but not too hard as to damage the key switch. This process will assure you a firm installation that will last for years.
View All of Our Products at Our AramediA Store
SignUp for Our email Newsletter