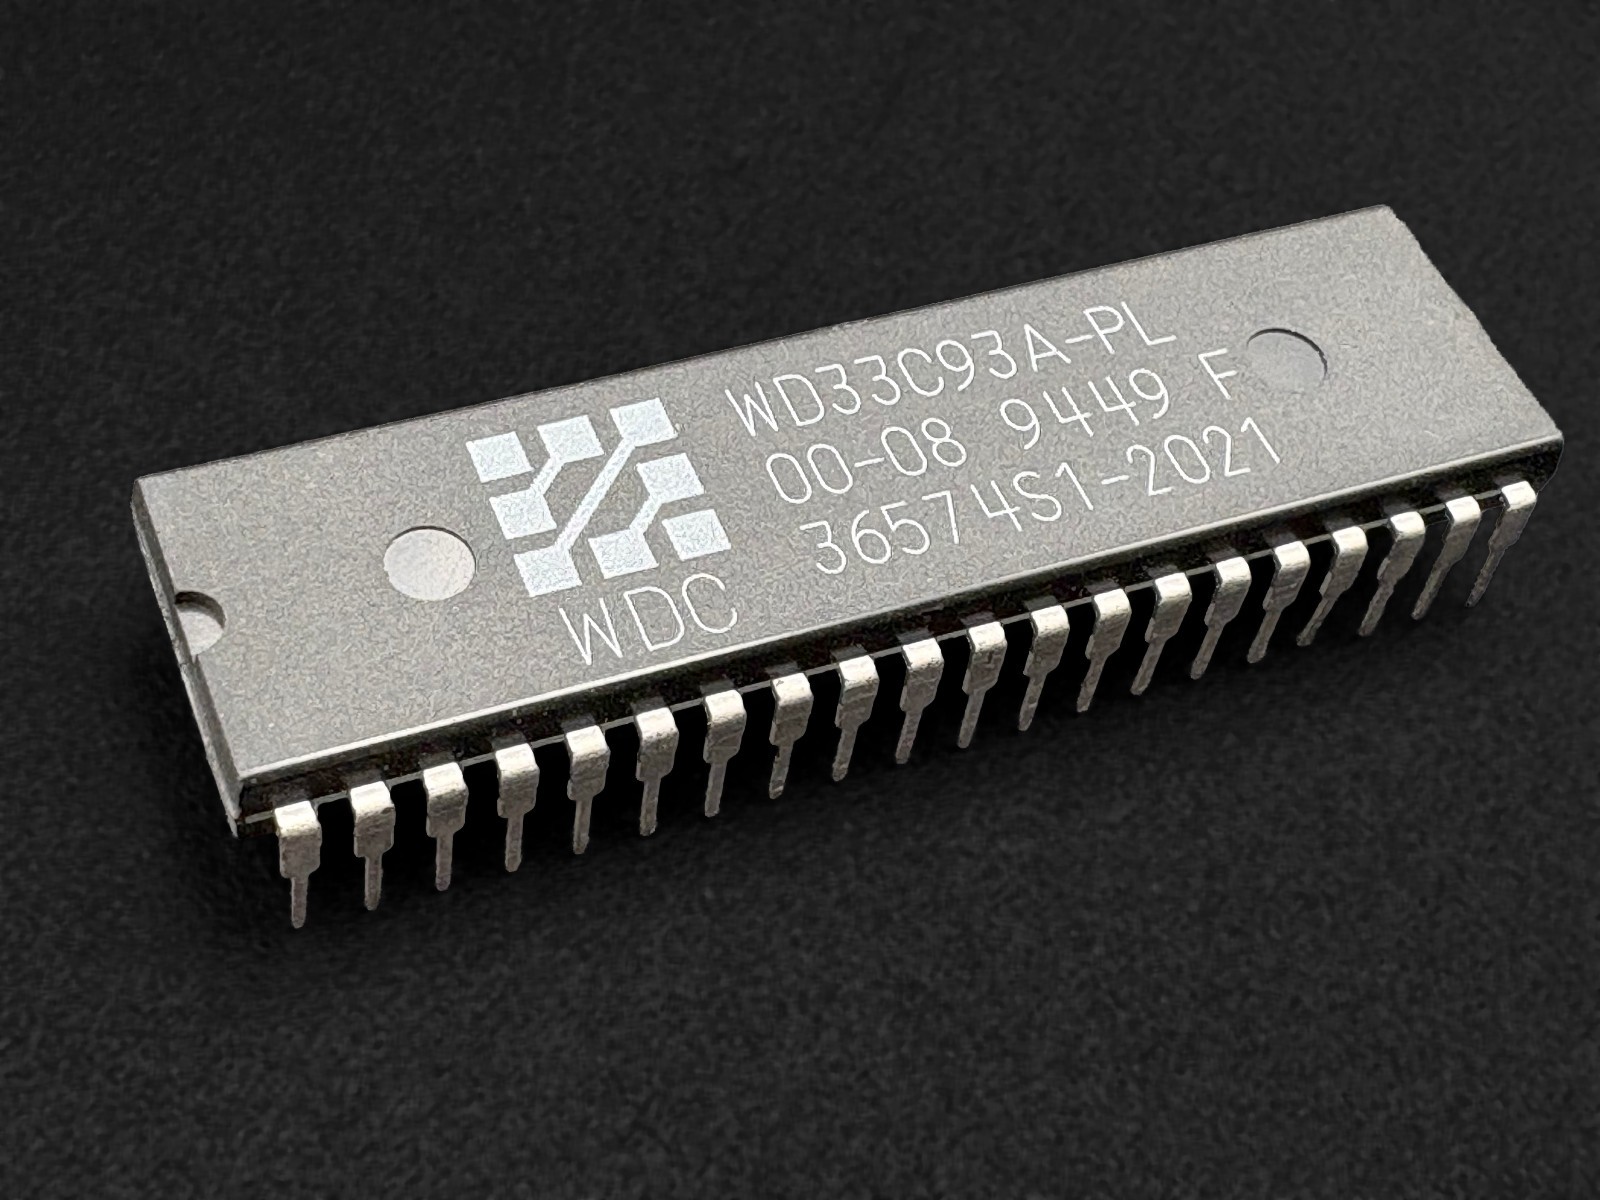
WD33C93A-PL 00-08TheWD33C93A-PL00-08SCSI controller chip is considered the "gold standard" for Amiga computers and is an important upgrade for system stability and compatibility. The chip you will receive is a genuine used part (clean pull, never soldered) and has not be relabeled or rebadged.
For the Amiga 3000, A2091,A2090, andA590, the most common SCSI chip shipped by Commodore was the WD33C93A-PL 00-04or earlier revision (often labeled "PROTO").While that original chip is functional with a single hard drive, it is notorious for bugs, particularly when multiple devices are connected to the SCSI bus, and can lead to system lockups or checksum 00-08 Revision Fixes:
- SCSI Bus Lockups: Prevents the system from hanging during intensive data transfers or when accessing "slow" devices like CD-ROMs.
- Checksum Errors: Eliminates data corruption issues that occur when copying large files between devices.
- Target Reselection Issues: Improved handling of multiple devices (ID 0-7) sharing the bus simultaneously.
- Compatibility: Necessary for stable operation with modern SCSI-to-SD solutions like BlueSCSI or ZuluSCSI.
Required Tools & Equipment
- Screwdriver: A Phillips head screwdriver to open the Amiga 3000, A2091, or A590 casing.
- IC Extraction Tool: Highly recommended for pulling the 40-pin chip without bending pins or damaging the socket.
- Static Protection: An Anti-Static Wrist Strap is the safest option. If you do not have one, you must remain grounded by touching the metal chassis of the Amiga (while it is plugged in but powered OFF) to discharge static.
- Flat Surface: A well-lit, non-carpeted workspace to prevent losing screws or generating static.
Installation Process
- Preparation: Power off the Amiga, but keep the power cable connected to a grounded outlet to maintain a path to ground. Touch the metal power supply casing before touching any internal components.
- Locate the Chip: Identify the 40-pin SCSI chip (labeled U800 on A3000 motherboards). It is a long, rectangular chip with "WD33C93" printed on it.
- Extraction: Using an IC extractor, pull the chip straight up from its socket.
- Alignment: Identify thenotch on one end of the new 00-08 chip. Match this notch to the notch on the socket or the white silkscreen printing on the circuit board.
- Insertion: Ensure all 40 pins of the new chip are straight. Align them with the socket holes and press down firmly and evenly with your thumb until the chip is fully seated. Make sure all pins are lined up.
- Inspection: Visually verify that no pins have folded under the chip or splayed outside the socket.
----
I typically ship next day after payment is received. Items will be securely packed with plenty of padding.I'm happy to provide additional photos of anything - just message me. I'm also here to answer any questions before or after your purchase.